Microsoft Windows Server includes a native backup feature. Windows Server Backup (WSB) enables you to create Volume Shadow Copy Service (VSS)-based aware backups of your servers, applications and roles.
Extending Windows Server backups to leverage cost-effective object storage is quite simple with a LucidLink Filespace.
In this article, we will configure a local server to incorporate object storage to perform a local backup, a network-based recovery and a baremetal server migration or restoration.
The concept is quite simple:
WSB requires a network path to backup (you can use removable media, however it behaves differently when it comes to recovery). To achieve a network backup and recovery, we simply share our Filespace mount-point over Server Message Block (SMB).
In our environment, we will have Server1 as our backup source server and use Server2 as our recovery server and our network recovery share for a baremetal entire server restore.
Let's begin on backup Server1 by downloading the LucidLink client installing LucidLink as a service
lucid service --install
lucid service --start
Link and mount our Filespace and mount as a drive letter within our operating systems. We will use this drive letter as the backup share and destination
lucid link --fs <filespace.domain> --user <filespaceuser> --mount-point <driveletter>
Create a share of Filespace mount-point (in our case L:) or specific directory within the Filespace which your user has read/write access on the localhost with appropriate user access permissions.
Windows Server Backup creates a default "WindowsImageBackup" directory in the root directory of a backup server share. If you are using a Filespace user ACL and share please ensure you share a directory within your mount-point (ie. L:\Backups)
Command prompt
net share Backup=l:\ /grant:%computername%\%username%,full
net share Backup=l:\ /grant:%userdomain%\%username%,full
Powershell
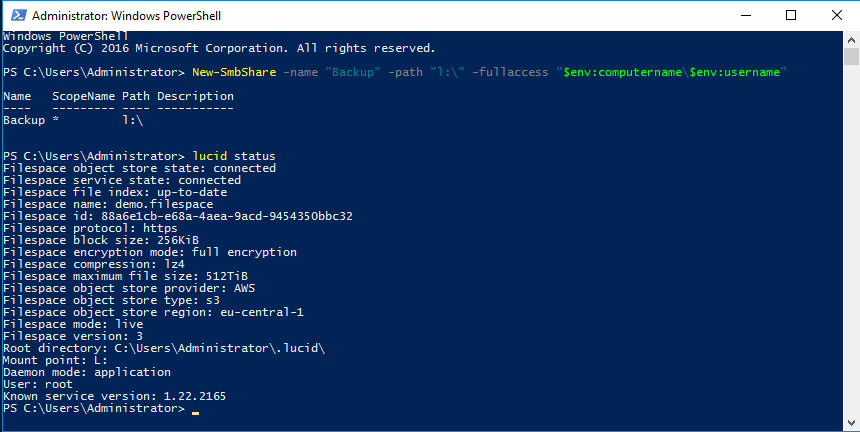
New-SmbShare -name "Backup" -path "l:\" -fullaccess "$env:computername\$env:username"
New-SmbShare -name "Backup" -path "l:\" -fullaccess "$env:userdomain\$env:username"
Ensure you specify appropriate share permissions for your environment
Perform a Windows Server Backup user interface backup of our server to our localhost file share
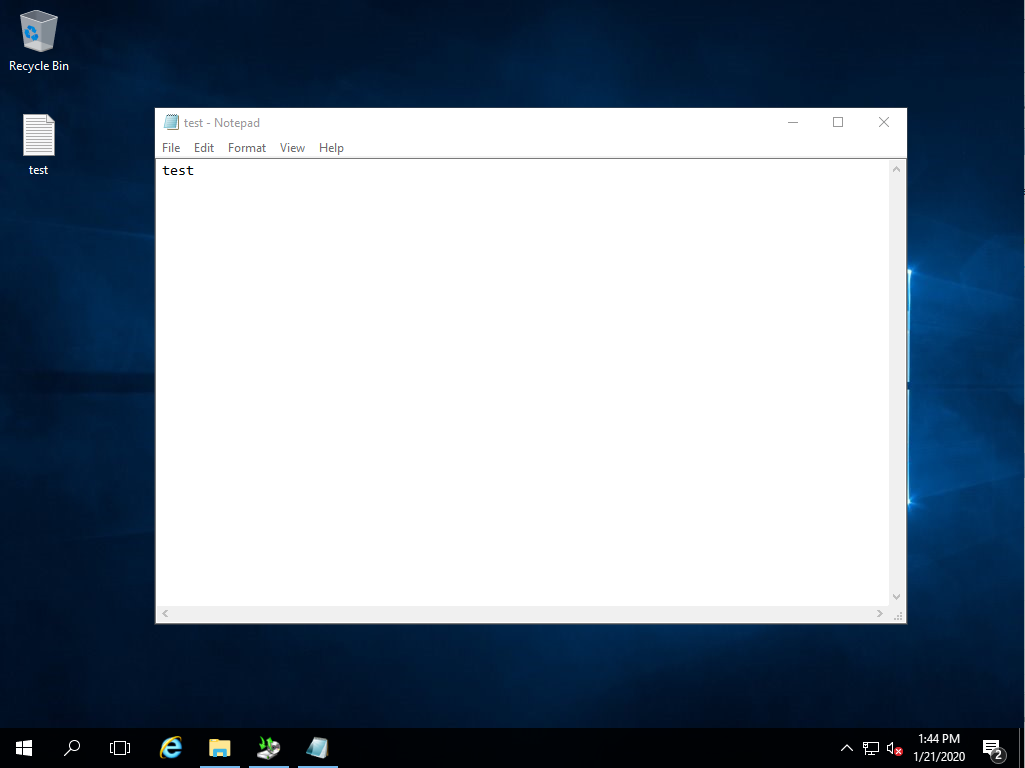
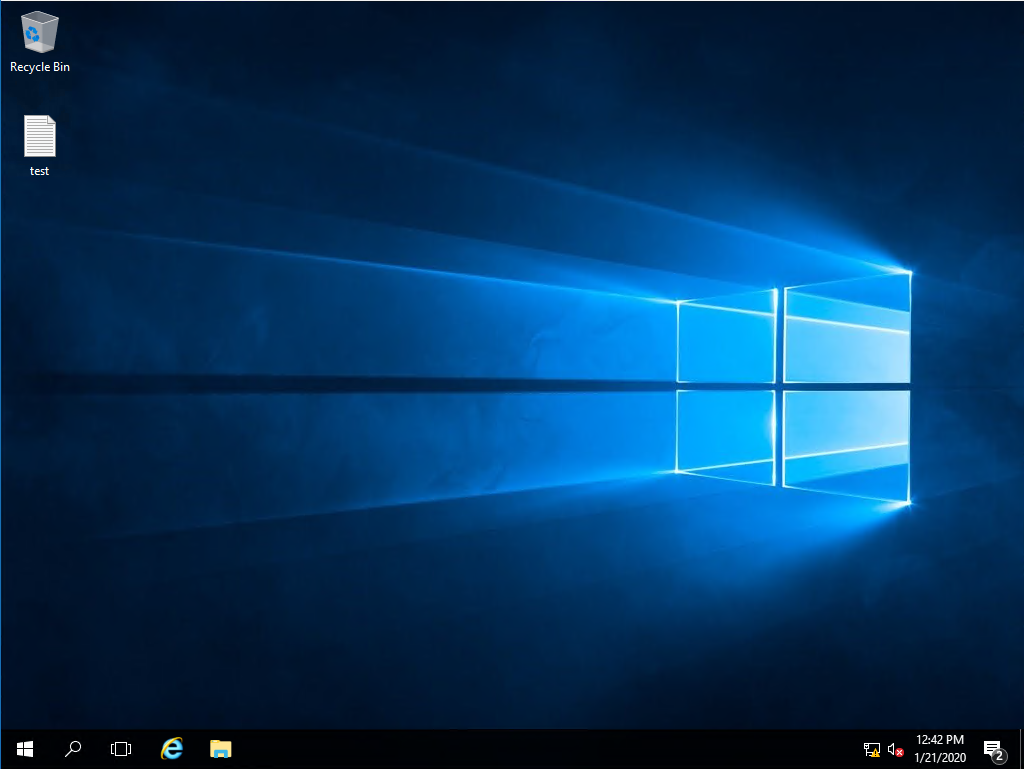
We need a dataset, so we will create a simple dataset in the form of a basic text file on our desktop. We will call it "test.txt" and populate it with "test" data
Remarks: If you want to back up an application for recovery, you must back up the entire volume that contains the application and application data.
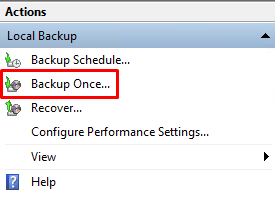
Launch Windows Server Backup and lets select "Backup Once" for this exercise
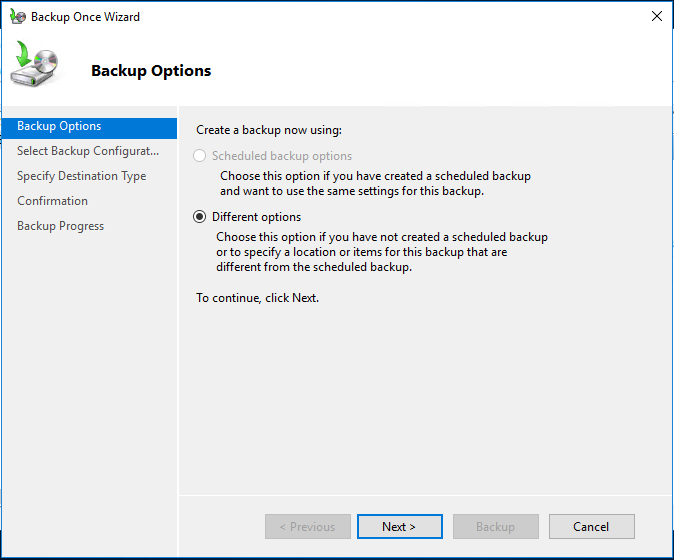
Select "Next"
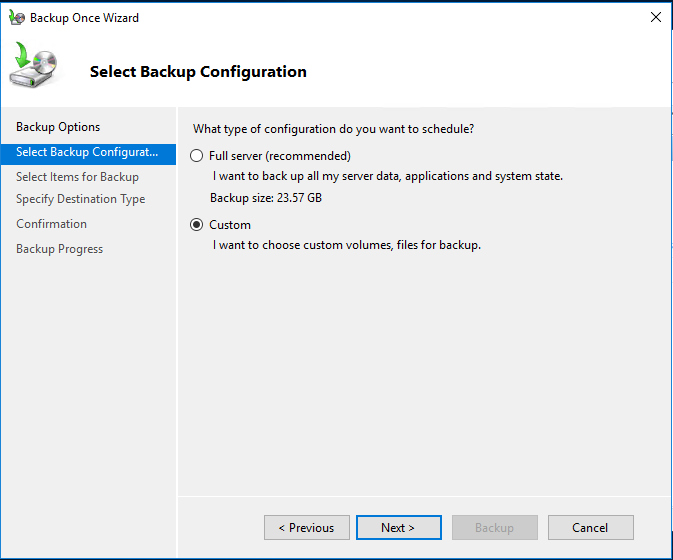
We will choose "Full server" and "Next" to proceed

Optional: select particular resources for your backup through the "Custom" option
Optional: add your items which will make up your backup
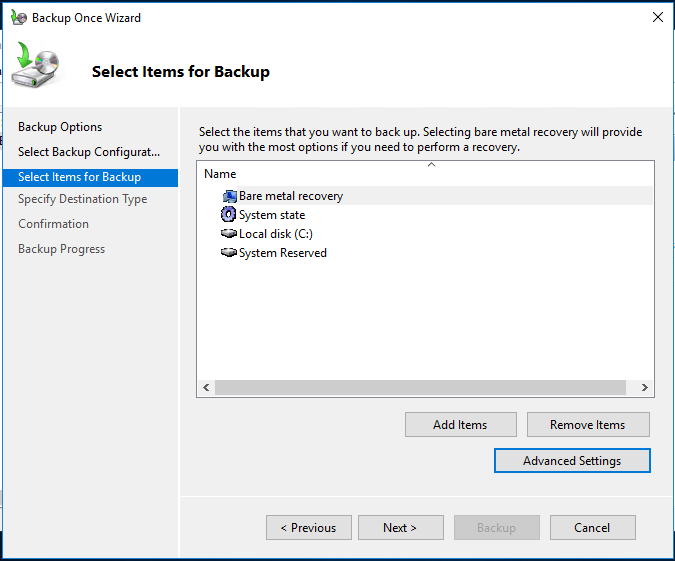
Optional: specify "Advanced Settings" such as file/folder exclusions or Volume Shadow Copy settings.
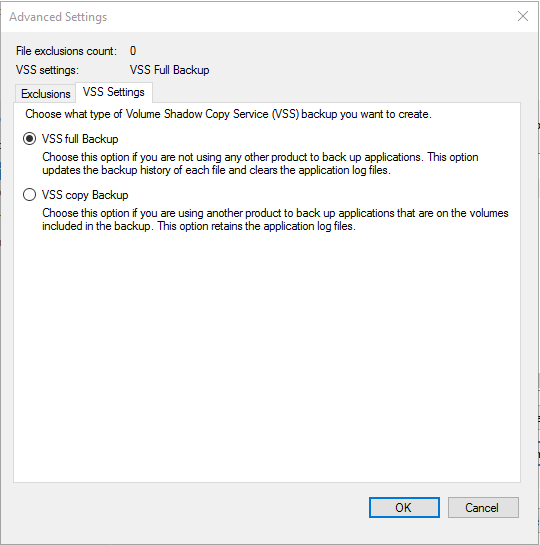
Complete these optional steps with "OK" and "Next".
Specify a "Remote shared folder" and "Next"
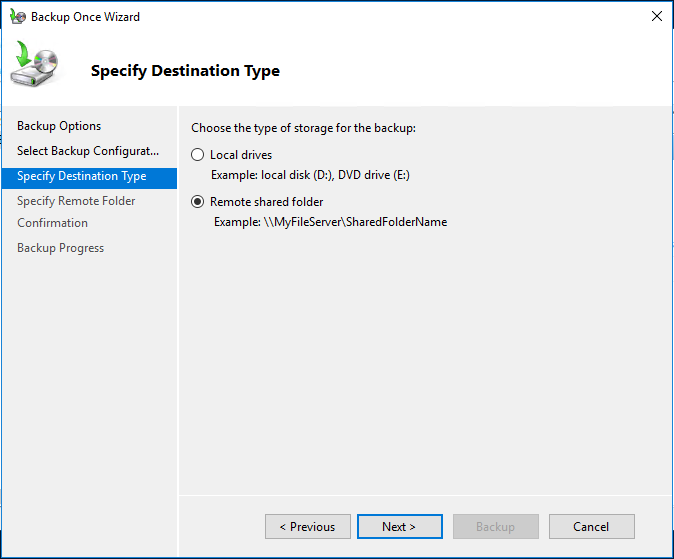
Our remote share will be our localhost and our earlier created server share

Important: If you save a backup to a remote shared folder, that backup will be overwritten if you use the same folder to backup the same computer again. In addition, if the backup operation fails, you may end up with no backup because the older backup will be overwritten, but the newer backup will not be usable. You can avoid this by creating subfolders in the remote shared folder to organize your backups. If you do this, the subfolders will need twice the space of the parent folder.
Confirm your backup and proceed with your "Backup"
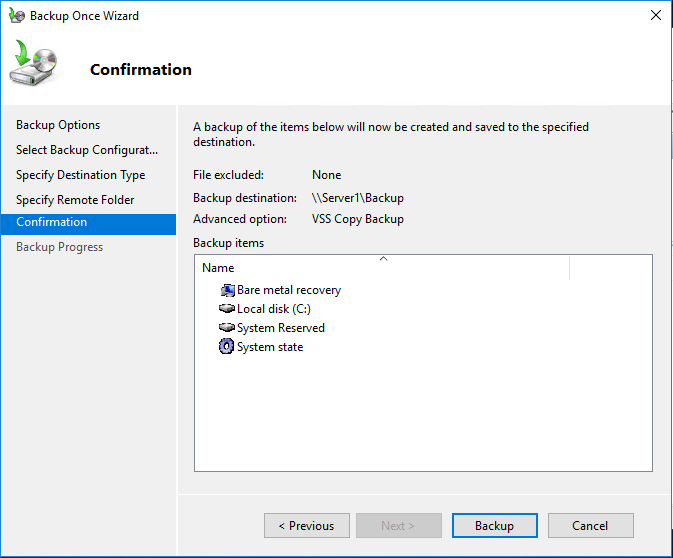
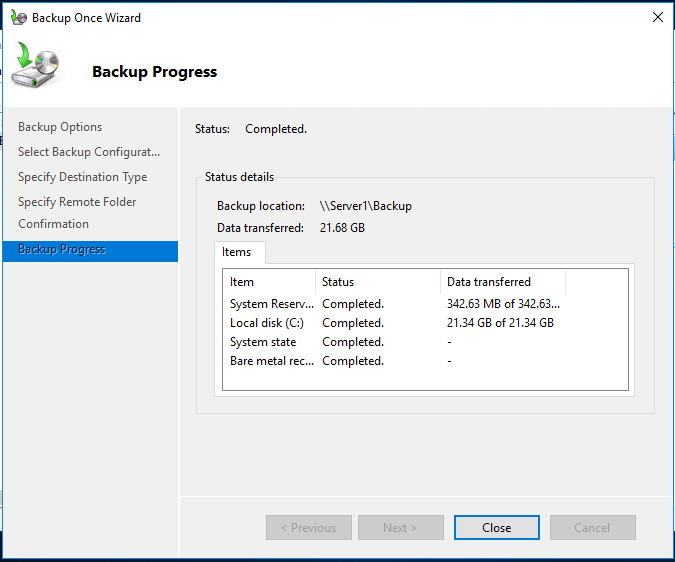
Wait for your backup to complete

Within your Filespace mount-point you will see your WindowsImageBackup dataset for Server1
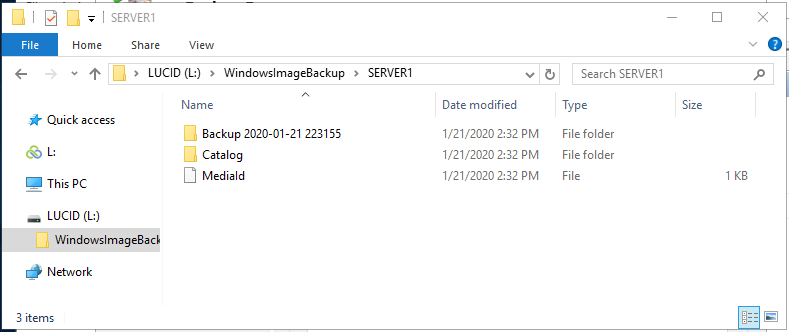
Once your backup has completed successfully your data is backed up to your Filespace and available to mount across distributed workloads. You are ready to proceed to data recovery.
Alternative command-line backup
wbadmin start backup -backupTarget:\\$env:computername\Backup -vssFull -AllCritical -systemState -quiet
wbadmin 1.0 - Backup command-line tool
(C) Copyright 2013 Microsoft Corporation. All rights reserved.

Note: The backed up data cannot be securely protected at this destination.
Backups stored on a remote shared folder might be accessible by other
people on the network. You should only save your backups to a location
where you trust the other users who have access to the location or on a network that has additional security precautions in place.

Retrieving volume information...
This will back up System Reserved (500.00 MB),(C:) to \\SERVER1\backup.
The backup operation to \\SERVER1\backup is starting.
Creating a shadow copy of the volumes specified for backup...
Creating a backup of volume System Reserved (500.00 MB), copied (0%).
...
Creating a backup of volume System Reserved (500.00 MB), copied (99%).
The backup of volume System Reserved (500.00 MB) completed successfully.
Creating a backup of volume (C:), copied (1%).
...
Creating a backup of volume (C:), copied (99%).
The backup of volume (C:) completed successfully.
Summary of the backup operation:
------------------

The backup operation successfully completed.
The backup of volume System Reserved (500.00 MB) completed successfully.
The backup of volume (C:) completed successfully.
Log of files successfully backed up:
C:\Windows\Logs\WindowsServerBackup\Backup-21-01-2020_00-46-02.log
Once your backup is complete, ensure any remaining data uploading to your object storage account has completed. Cleanup your backup share and stop your LucidLink service.
Command prompt
net share Backup /delete
Powershell
Remove-SmbShare -Name "Backup" -Force
Stop LucidLink service
lucid service --stop
Your Filespace is now unmounted on Server1 and protected against data corruption.
As an additional step you could Snapshot your Filespace before stopping the LucidLink service to capture a point in time.
Restore your data through the Windows Server Backup user interface from our Filespace localhost file share.
We will simulate a critical restore with our file "test.txt" on a machine called Server2
Install LucidLink as a service as we did at the start of this article for Server1 along with a share of our Filespace mount-point on the localhost with at least read-only privileges.
In our case we will create a "Restore" share using R: as our Filespace mount-point
New-SmbShare -name "Restore" -path "r:\"
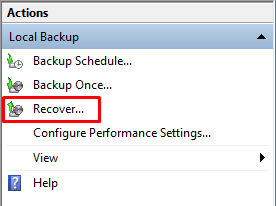
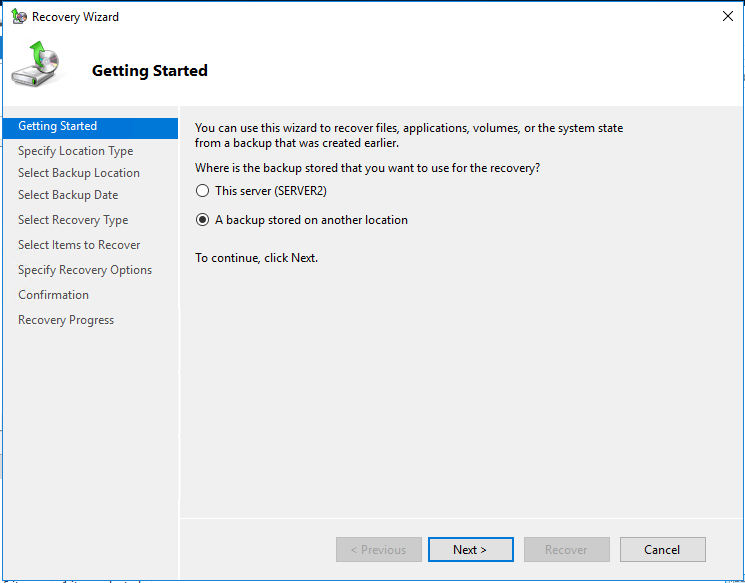
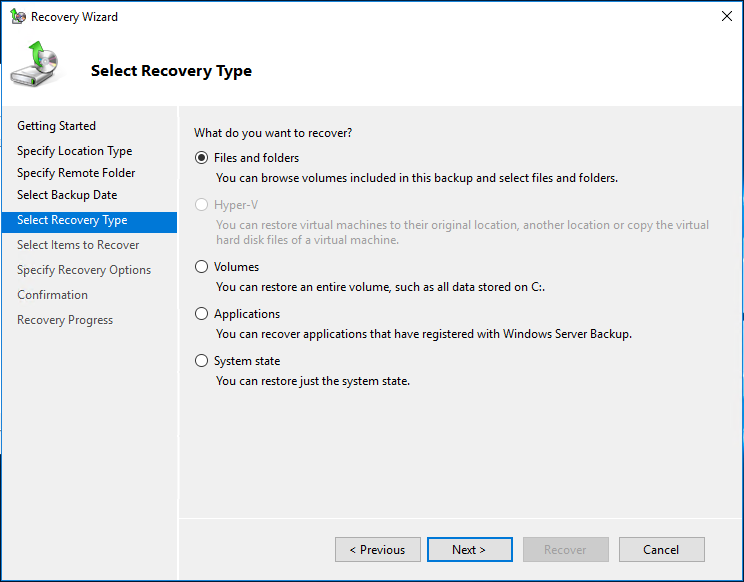
Launch Windows Server Backup and select "Recover"
Select "A backup stored on another location" to specify our remote share
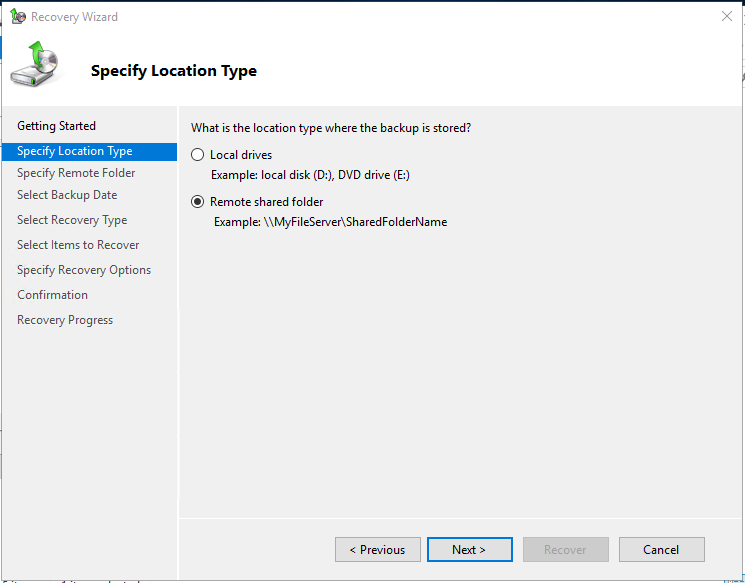
Specify a "Remote shared folder" and select "Next"
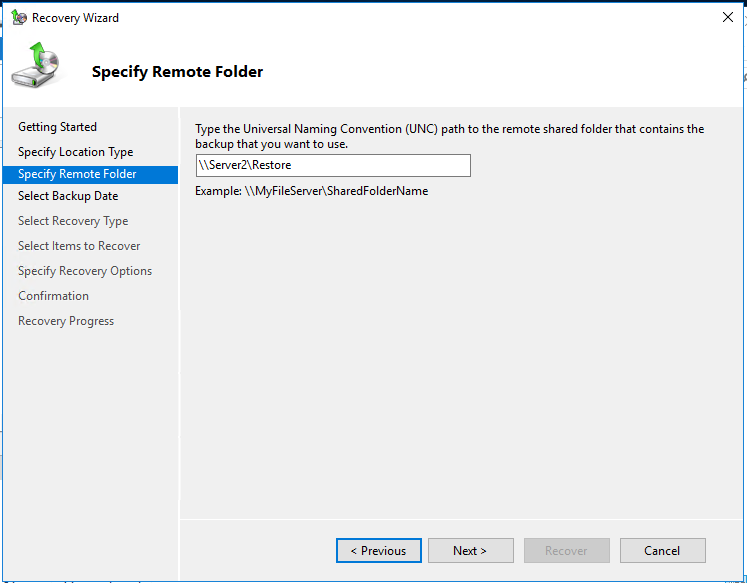
Type the UNC path for our remote share for Server2 called Restore
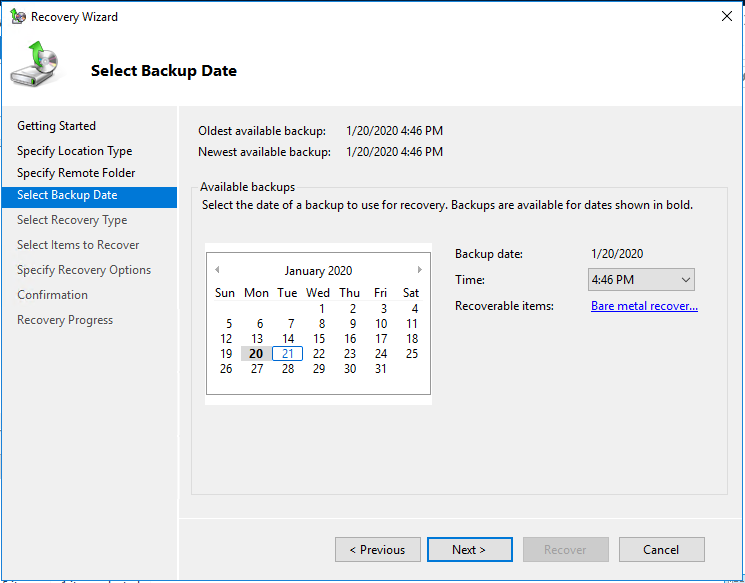
Select your recovery point. We only have 1 available backup therefore "Next" to continue
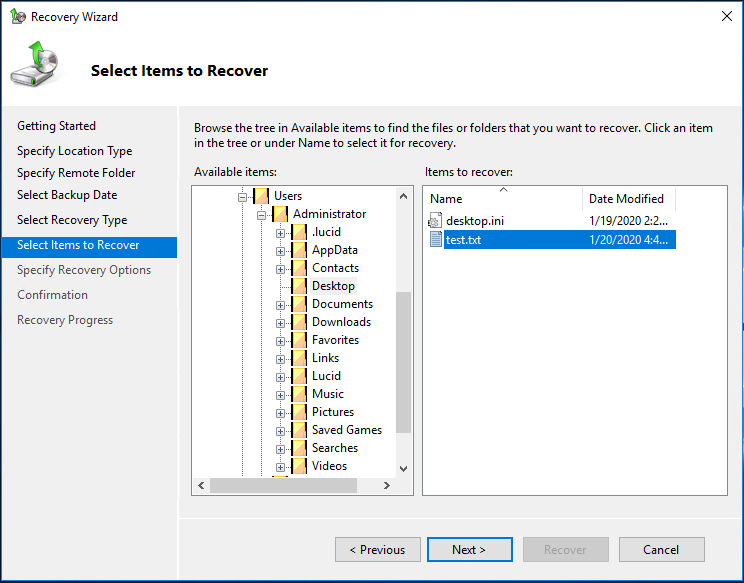
Lets browse our "Files and Folders" for our "test.txt" file we had on our Server1 desktop
Select your resources required for recovery and "Next"
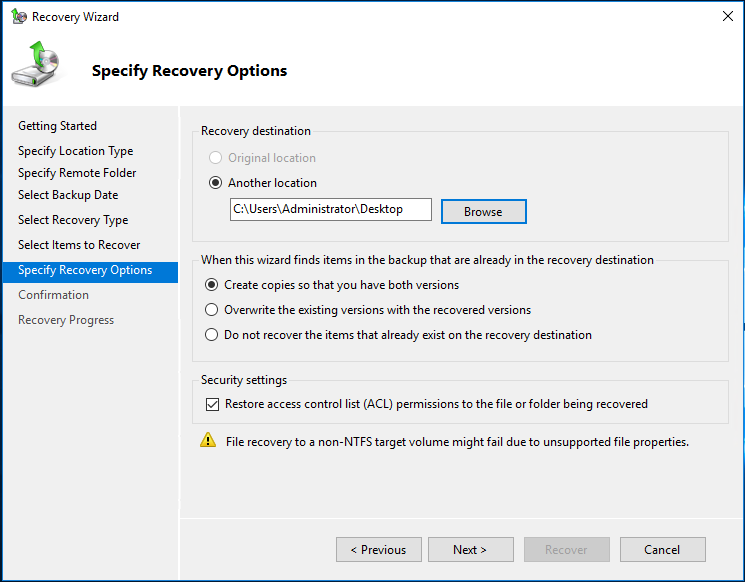
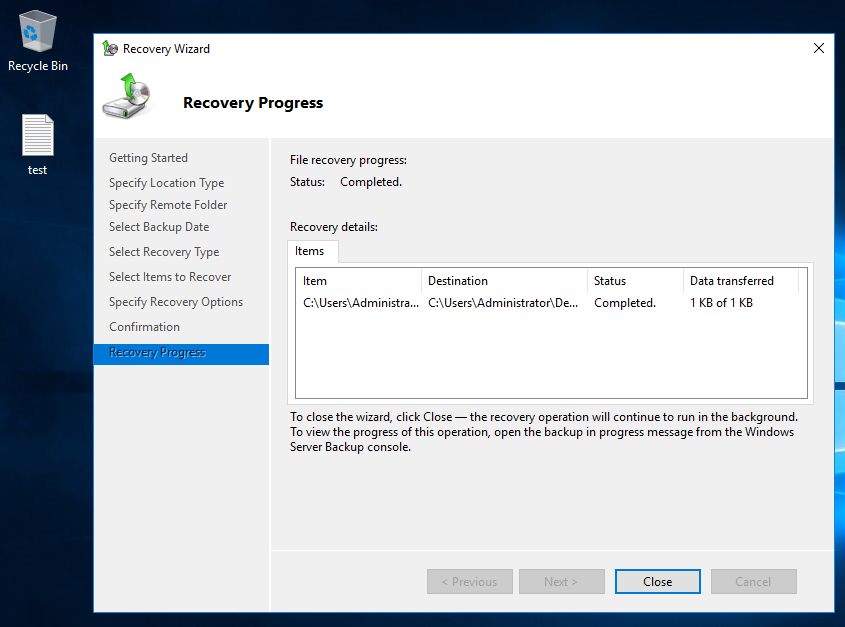
Specify your recovery options. In our case will will recovery "test.txt" file to our Desktop within our Administrator account of Server2
Confirm your recovery and press "Recovery" to proceed
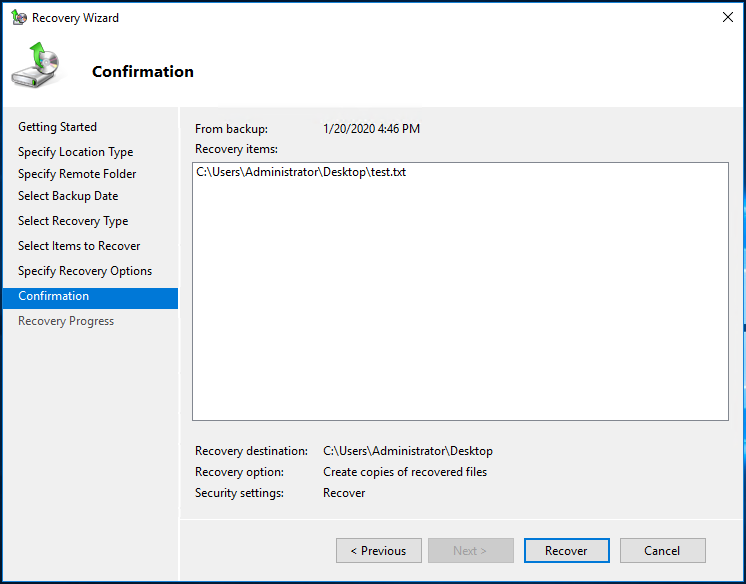
Our recovery was successful
Baremetal Restore of our Server1 image from our Server2 recovery share
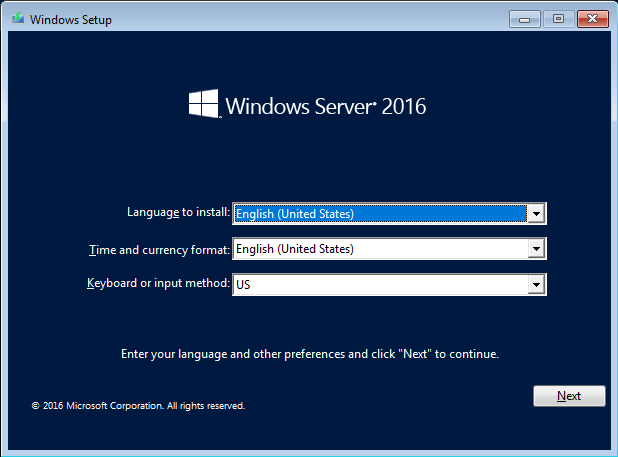
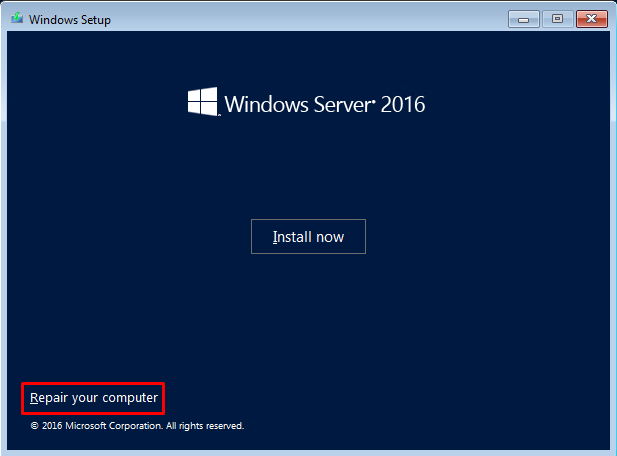
Boot Windows installation CD to begin
Select "Repair your computer"
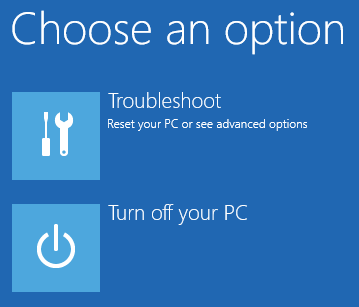
When prompted choose "Troubleshoot"
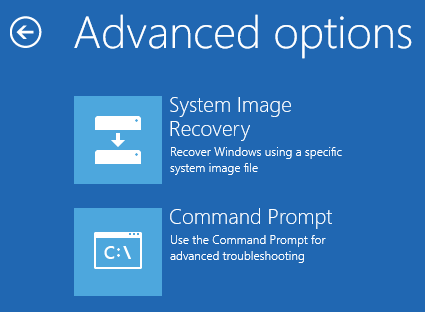
And select "System Image Recovery"
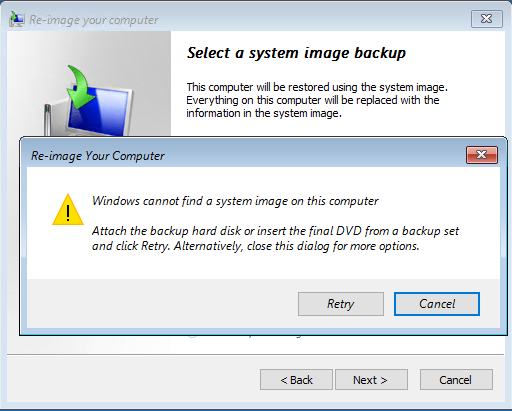
Windows will no doubt not find any recovery images. Press "Cancel" to proceed
"Next" will allow you to specify your preferred recovery image
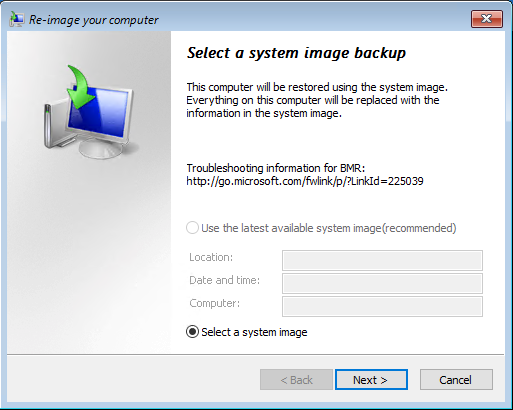
We are going to need to choose "Advanced"

and search our network for our recovery image
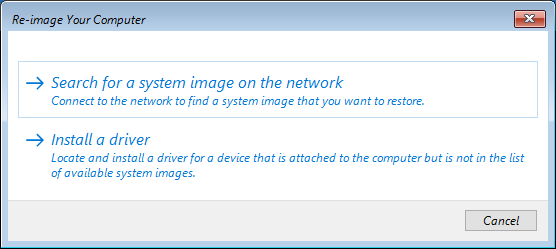
Select "Yes"
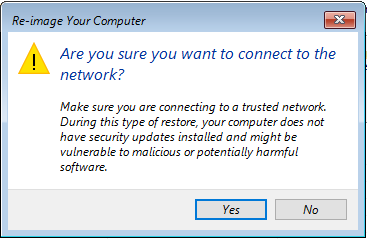
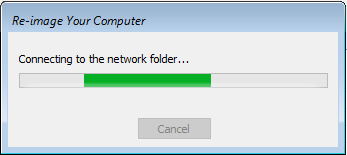
Allow the process to connect to the network
Note: you may have to provide some network drivers, depending on your hardware and environment
Should your server not have DHCP network access, you will be required to set your network IP address to access your network and connect to your recovery share.
Press "Shift+F10" to launch a command prompt.
Identify your network interface name
netsh interface show interface
Specify an IP address
netsh interface ipv4 add address “<name of adapter>” <IP address> <subnet mask> <Default gateway>
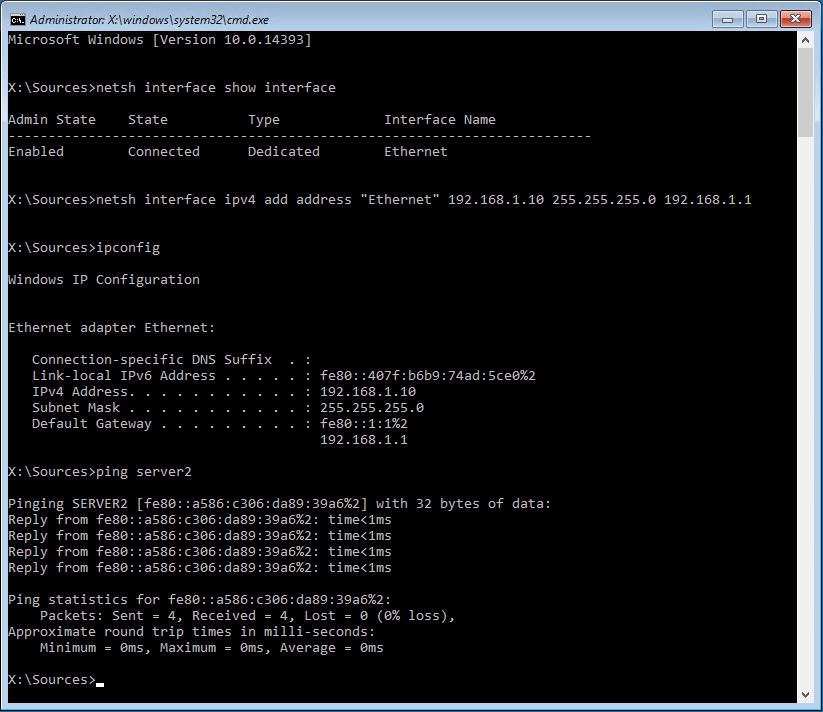
Ensure you can access your network and provide your recovery image server share
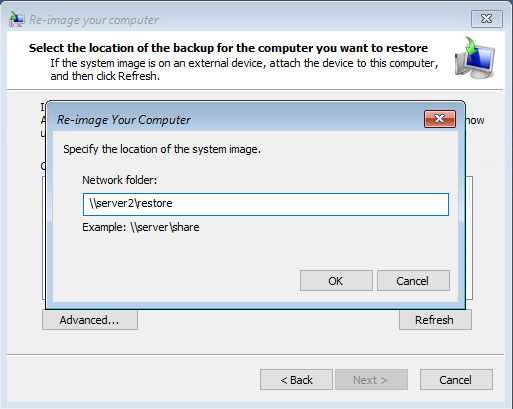
Supply your credentials
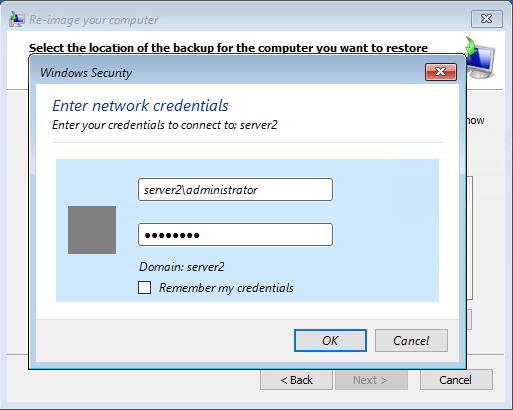
Proving everything is correct the wizard should connect to your network folder, where you will be able to select your image
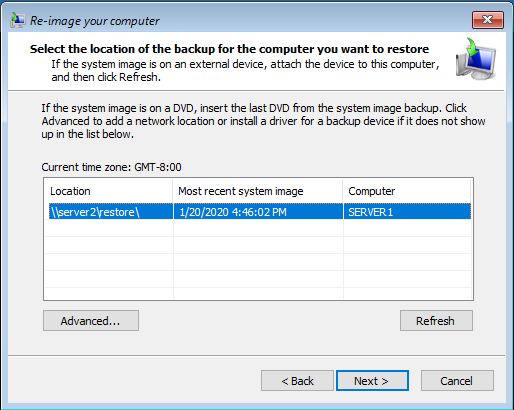
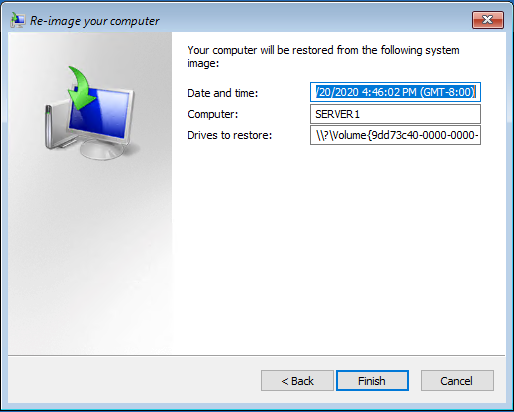
Select the time/date for your recovery and "Next" to continue

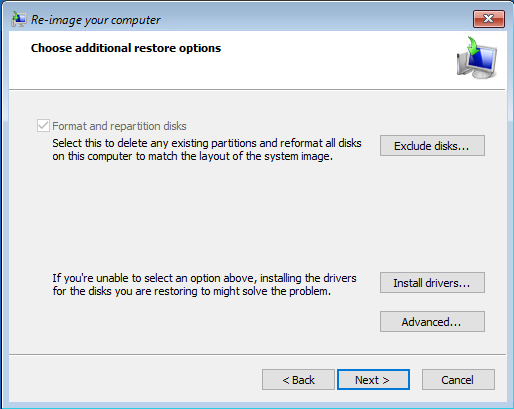
Depending on your environment, whether you need to add drivers, or exclude/update resources, a standard baremetal recovery should be sufficient, we will select "Next" and leave everything default
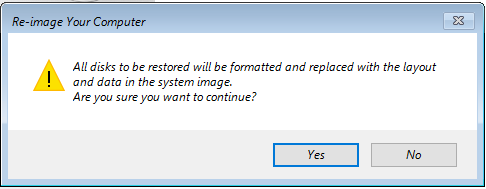
and "Finish" to initiate the baremetal recovery
Along with "Yes" as confirmation
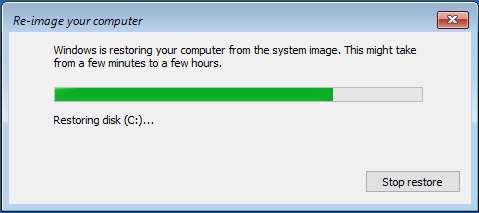
Allow sufficient time for your image to be streamed from the object store
and restart your computer
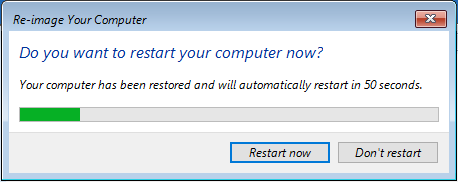
Success! Your recovery is complete. In our backup we had our desktop "test.txt" file as our sample.
Our whole machine has been restored as a baremetal recovery from a Filespace, shared via an SMB share through Microsoft's mechanism for inbuilt Windows Server backup and recovery.
Cleanup restore share on Server2
Remove-SmbShare -Name "Restore" -Force
Stop LucidLink service and uninstall LucidLink service if this recovery server is no longer required
lucid service --stop
lucid service --uninstall
So as you can see, your backup servers can be network SMB instances extended to object storage to provide a virtually unlimited capacity resource to host your disaster recovery strategies.
Filespaces can be mounted universally between data centers, across geographies to simulate recovery, test backup integrity or in the worst case, perform emergency recoveries during compelling events.
In this guide we've specifically used our localhost however setting up a network backup server to consolidate and centralize your backups can be achieved by the same concepts applied.